UK
UK

Ever wondered what photography classes for teens are all about? Yes, there’s plenty of playing around with lighting, learning your camera settings, and trying new angles or framing. But want to get creative, exciting, and learn in a fast-paced environment? Street photography is where it’s at.
Digital photography for teens is one of the best hobbies you can get into. It’s fun, it’s creative, it’s challenging, and you’re making memories for decades to come.
Part of the excitement is taking visual notes of what’s going on around you. You don’t have to keep that beautiful view intact in your memory, because you can take a photo of it.
Definition of Street Photography
If you want the fancy definition, Wikipedia calls street photography: “photography conducted for art or inquiry that features unmediated chance encounters and random incidents.”
That’s a bit of a mouthful, though. In a nutshell, street photography is all about candidly capturing people, the city, and life around you as it happens. It doesn’t have to be literally in the street… It could be in the subway, in a store, or at the beachfront.
You’re just documenting life as it passes you by… In all its beauty, randomness, and weirdness!
Street Photography Tips & Tricks
Street photography is often fast and full of action. Yes, you do get those quiet, deserted streets that have a haunted feel to them! But if you’re out in the city, chances are you’re smack in the middle of action.
Which means you need to be prepared to point and shoot, shoot from the hip, and deal with subjects that aren’t going to stand still for you. Here’s our best advice for getting it right.
Understanding Movement
Movement equals action. Movement can tell a story! And if you’re shooting on the fly, you need to be able to incorporate it into your photos.
A blurred photo isn’t always for the trash! If you want to convey the hustle and bustle of city life, some movement is a great artistic feature.
Learning how to pan your camera with movement is a great way of capturing a sharp image against a blurred background, showing fast movement.

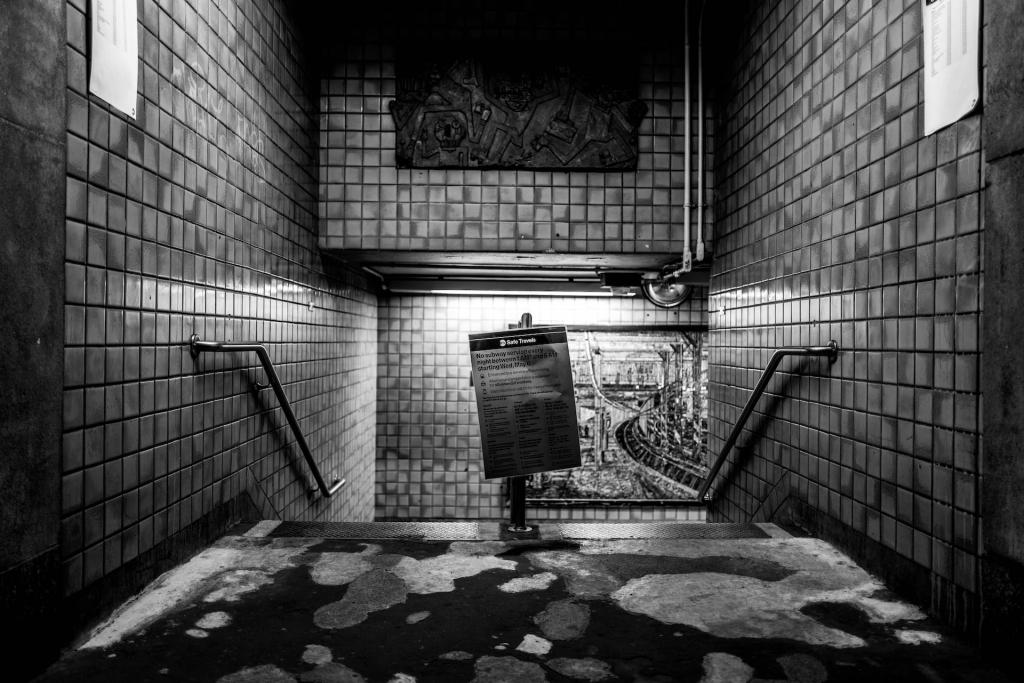
On the other hand, if you want the background to be in focus and the subject to be blurry (like the picture below), set your camera to a slower shutter speed that captures the static but blurs the moving.

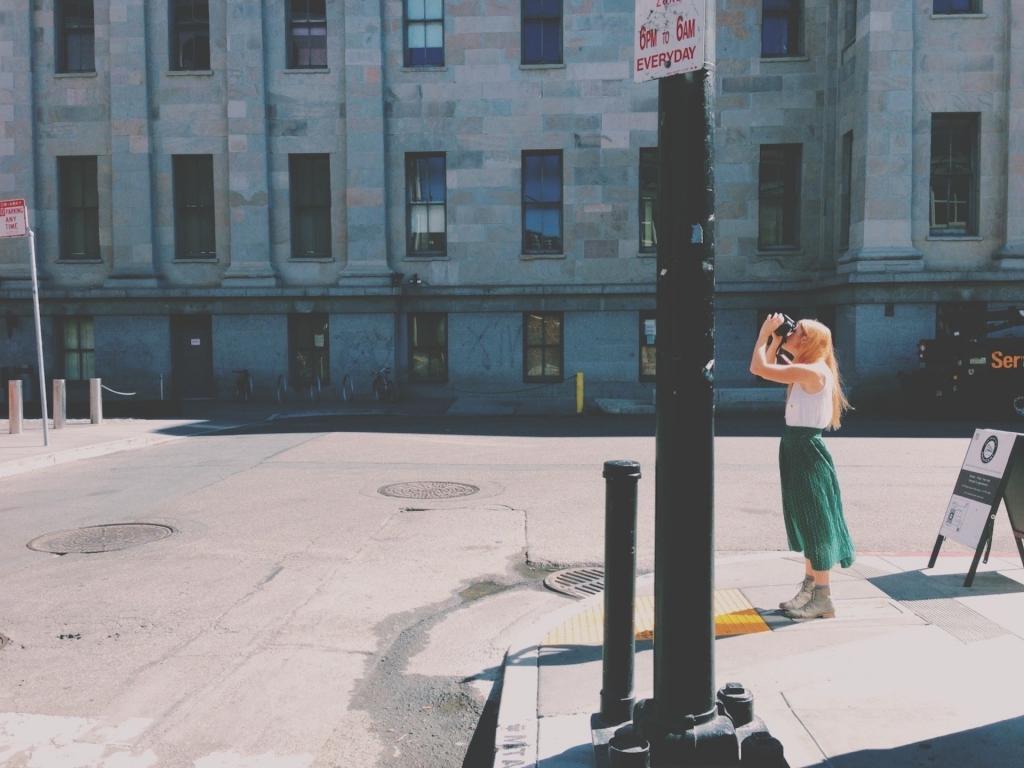
Find Unique Perspectives
A large part of the creativity of street photography is looking for new angles of seeing things. What’s more exciting—a straight-on photograph of some people walking across a bridge, or… The picture below?

Look for angles that make you think. That aren’t ordinary. That most people don’t see. You may have to climb a tree to get a great perspective. Or, you may find yourself lying on the ground to get a unique low angle. It’s all part of the fun!
Color or Black & White
The beauty of digital photography is that you can take a photo in color and convert it black and white later to see what looks best.
In some cases, color really makes your photo pop. It adds a vibrance to your photos, especially if it’s a natural part of the environment. Black and white, on the other hand, removes any “fluff” and relies on the essence of the scene to really shine through.
The choice is yours as to whether you prefer color or black & white. The best bet (in our opinion) is to take in color and convert to black and white later on. That way, you can decide between the two… Or keep them both!

This is exactly as it sounds. Sling your camera strap around your neck and aim it from your waist. It’s basically taking photos on the sly… But you get much more natural pictures this way.
You won’t be able to see things through the viewfinder, so expect to get some unusable shots. But the more you try it, the better you’ll get!
Obviously, there are some instances where you’ll want to have your camera to your eye to frame your shot correctly. But shooting from the hip is a skill you should learn if you want to take candid shots of people!
Best Camera Settings for Shooting On the Fly
Getting your camera settings right for street photography can be tricky. There’s no one-size-fits-all group of settings, so you may need to experiment and find what works for you.
Auto mode isn’t always the best for the fast-paced nature of street photography. The better options are shutter priority mode or manual mode. But to give you an idea (in a nutshell), here’s what’s suitable for street photography.
- Aperture: f/8 for starters, can adjust on the go.
- Shutter speed: 1/125s or above for freeze frame, lower if you want to play around with motion blur.
- ISO: Auto ISO is all good, although if you can cap it at 1600 it’s best.
If you aren’t sure about manual settings yet, you can try using your camera’s sports mode. It’s designed for fast movement!
Great Street Photographers to Learn From
Photography classes for teens are one way to learn, and they’re excellent for getting the basics down and meeting like-minded people. But if you really want to get good at it, study the works of well-known street photographers.
Look at how they frame their shots. The color they use (or don’t use). Their use of space, movement, and themes. How do their shots make you feel?
Then get out on the street and try to recreate some of their shots.
Check out the works of:
Join Our Street Photography Classes for Teens
We love teaching teens how to capture the world around you and make memories. And we particularly love street photography for its artistic potential!