
 UK
UK

No photography classes for teens and kids would be complete without a tutorial on how to take pics on the scariest night of the year. Halloween photography can be challenging, but when you look back at the awesome photos you get, you’ll be hooked!
If you’re a photographer, Halloween might hold more treasures than just candy. Dark and scary can make for some great photos, and it’s a challenge to get pictures that convey the mood and feeling of the evening.
Here’s our best advice for getting Halloween photos that capture all the fun, creepiness, and excitement of this once-a-year evening.
How To Take Eye-Catching Halloween Photos
If you’re planning on taking your camera trick or treating with you this year, here are some tricks to get the best Halloween photos possible.
Use Slower Shutter Speed Priority Mode
You’ll find this on your camera as either S or Tv mode. This will allow you to select what shutter speed you want and the camera will adjust the aperture automatically.
A slower shutter speed serves a few purposes that can come in very handy for Halloween photography. One, the longer the shutter is open, the more light gets in. When you’re taking pics in a dark or semi-dark environment, that extra bit of light can come in handy!
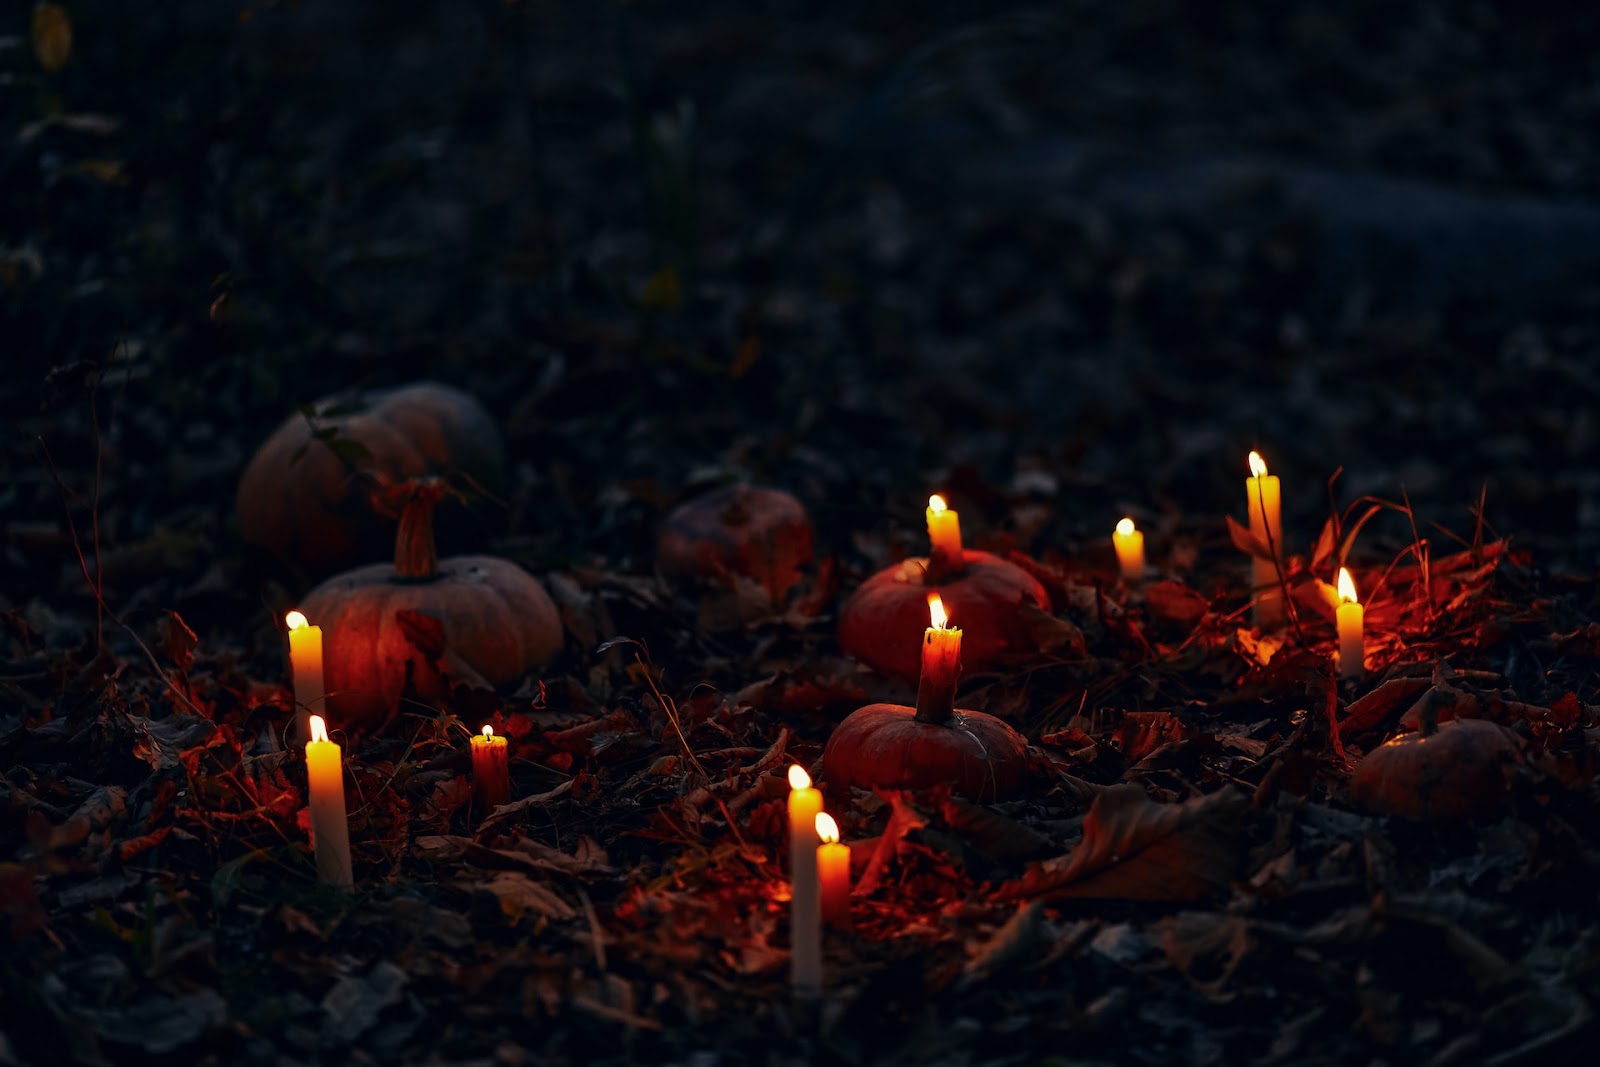
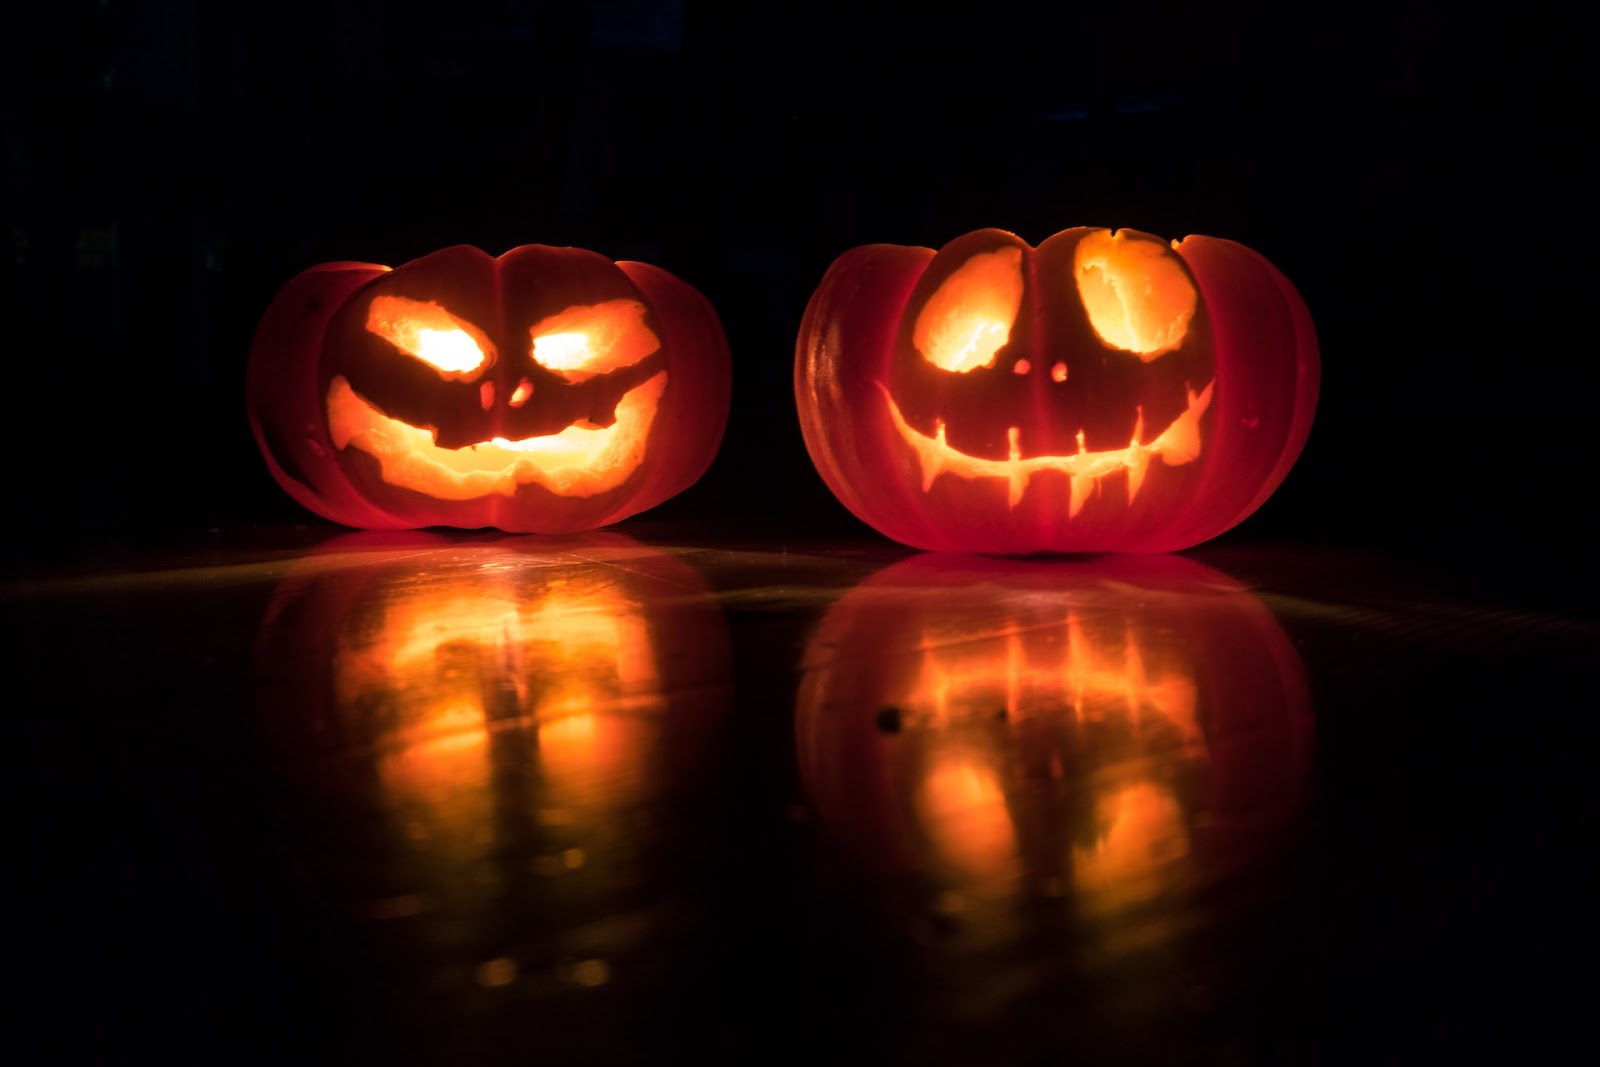
Try taking a photo of a carved pumpkin in the darkness lit from the inside out by a candle. At a fast shutter speed—the picture below is around 1/125—all you’ll see is the ghoulishly-lit face with not much context around it.
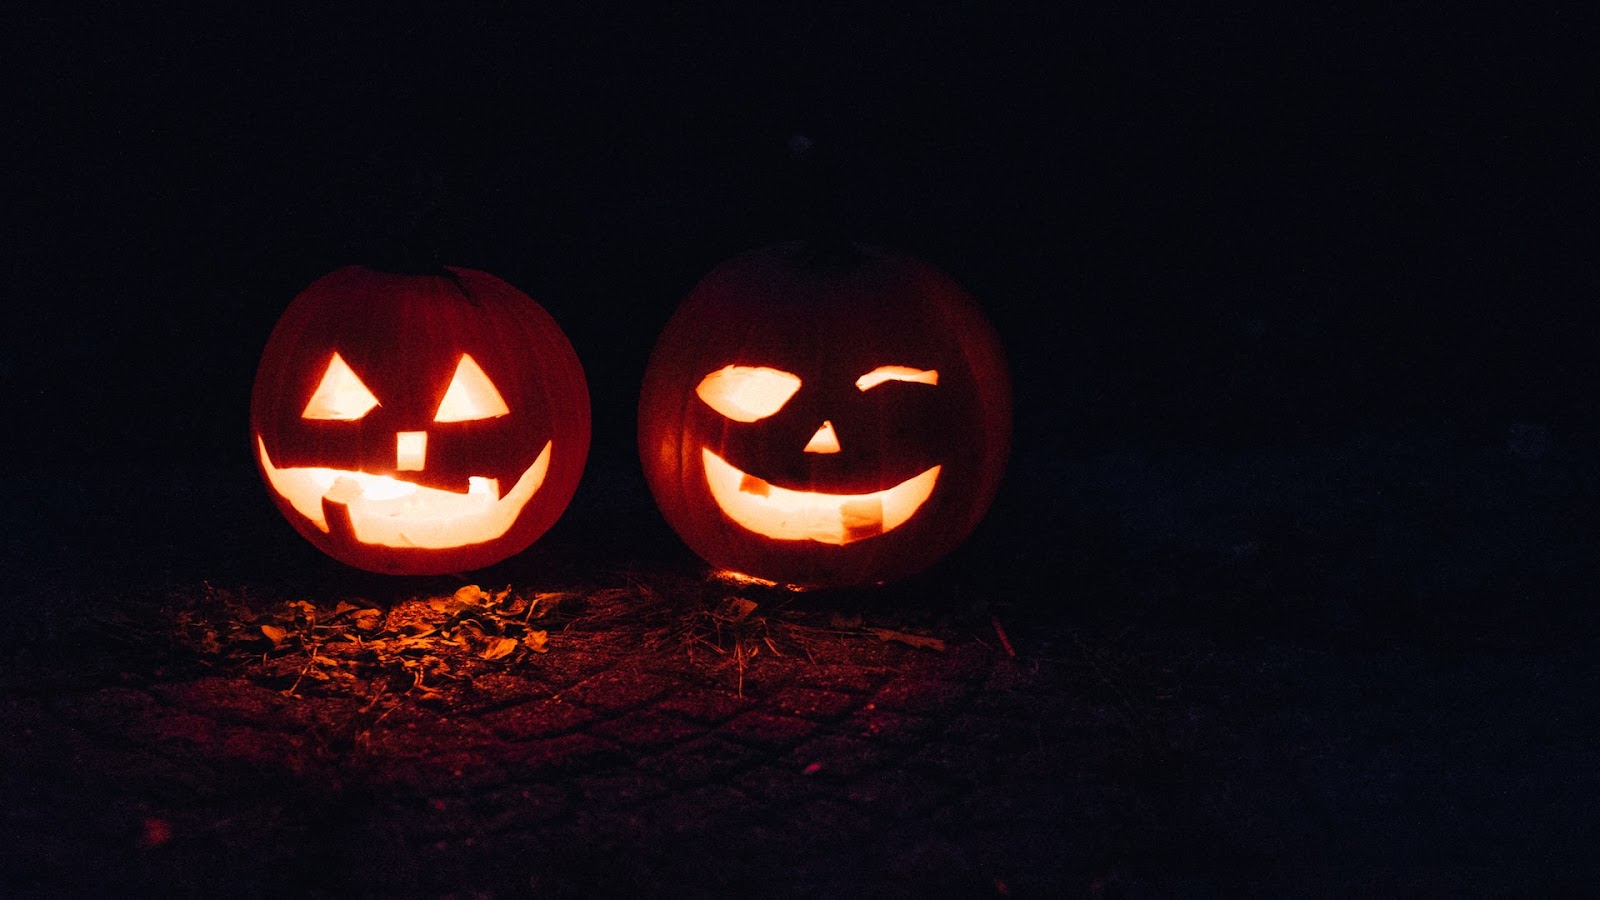
This is a suitably creepy photo! But if you want a bit more context around your picture, lowering your shutter speed can help.
A slower shutter speed, like 1/10 or thereabouts, can help add more light to your photo. If your camera doesn’t have S or Tv mode and you can’t choose your shutter speed, it may have “fireworks mode”, which is just as good.
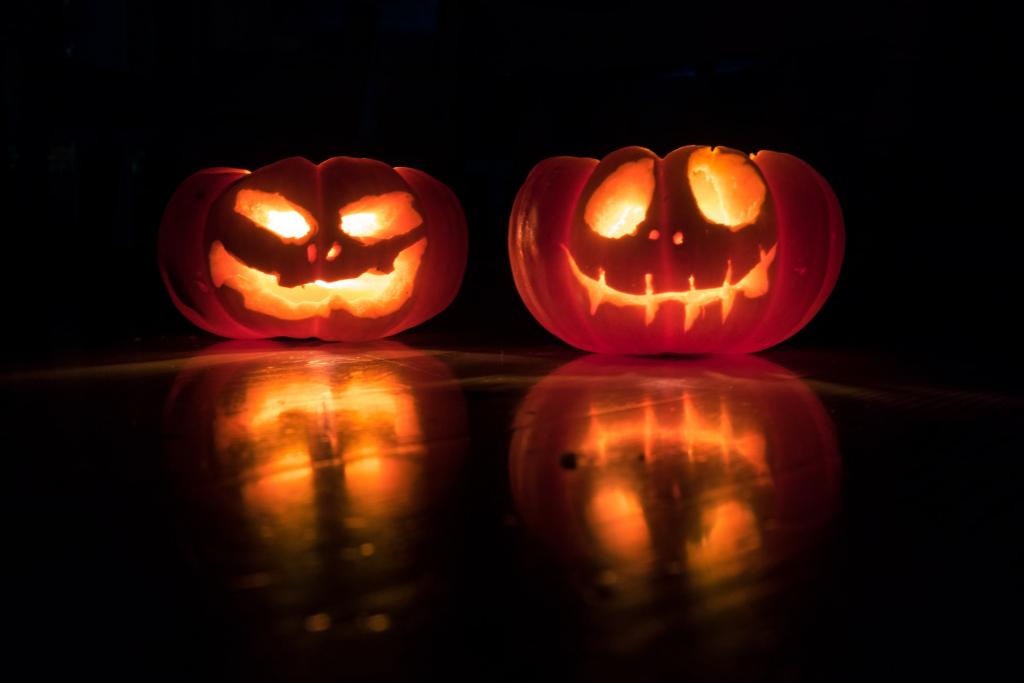
With these settings, you can easily get photos that are just as creepy, just with more detail, like this one:
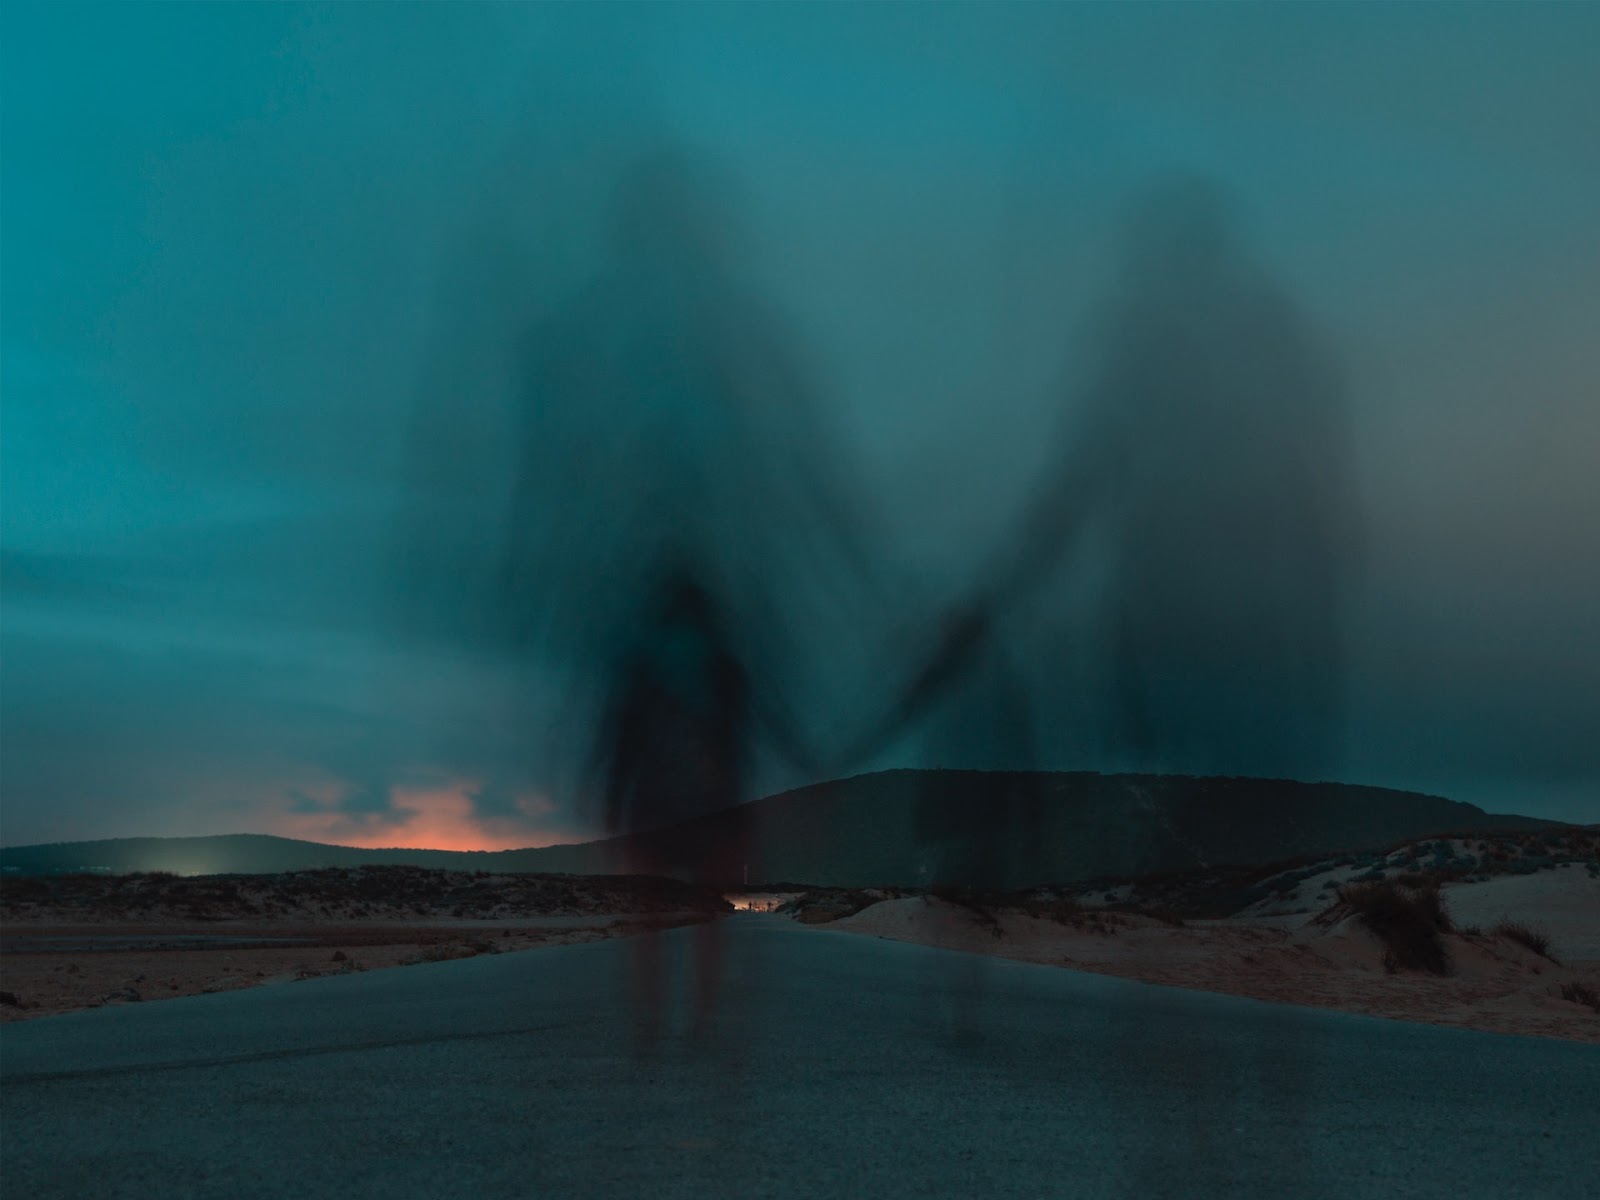
The second use of slow shutter speeds is probably less practical but more fun for Halloween. When there’s movement in front of your camera at a low shutter speed, you get a ghostly blurred effect.
Playing around with this can be a lot of fun! Get your friends to walk in front of the lens so you can capture a “ghost” on camera.
Another fun thing to mess around with on Halloween at a slow shutter speed is sparklers. With a bit of creativity and some buddies, you can pull off some dark and creepy pics!
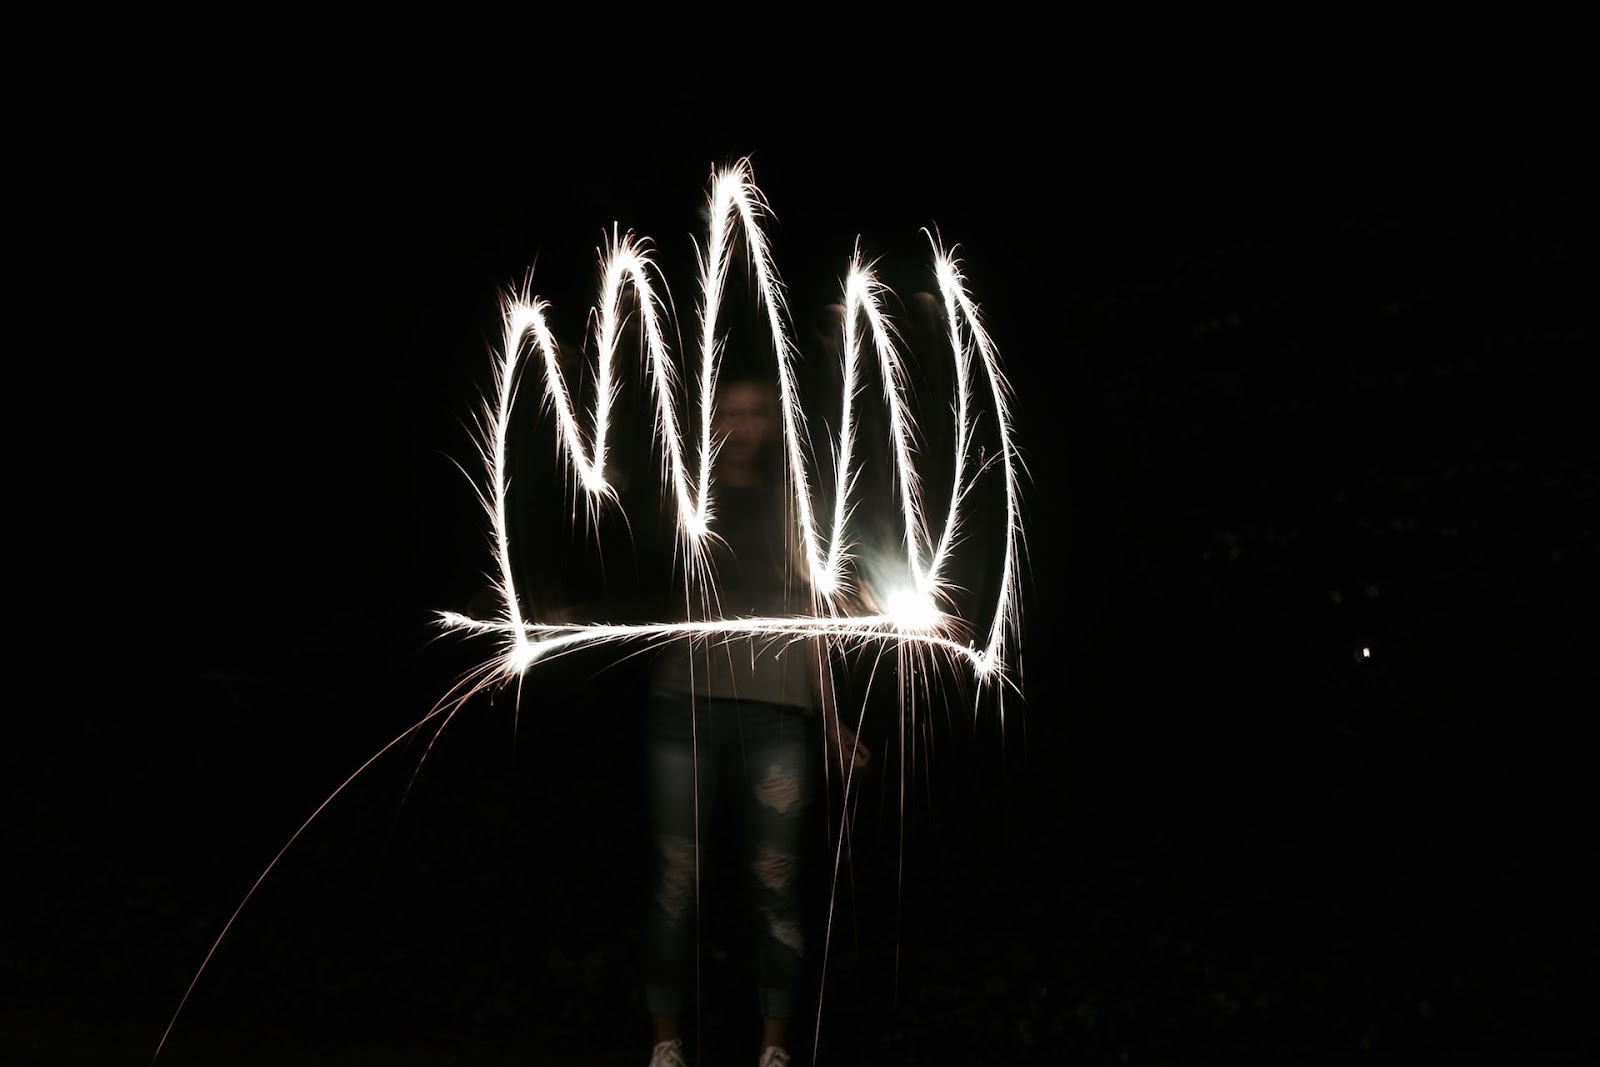
Just keep in mind that any movement will blur. So if there’s fire, smoke, wind, or anything else, you’ll end up with a blurred photo that may not be quite what you want.
Use A Tripod for Stability
A tripod is a must whenever you’re taking pictures in low light situations. Every little wobble in your hands causes blur when you’re shooting at a slow shutter speed!
Using a tripod means you can shoot at very low shutter speeds and the camera will stay completely steady, as long as it’s on stable ground. You can go as low as 1” or slower, or use your fireworks setting, and you won’t have to worry about wobbles or blurs!
If you really don’t want to carry a tripod with you, it’s okay. There are other ways to get a stabilizing effect, although they may take some practice.
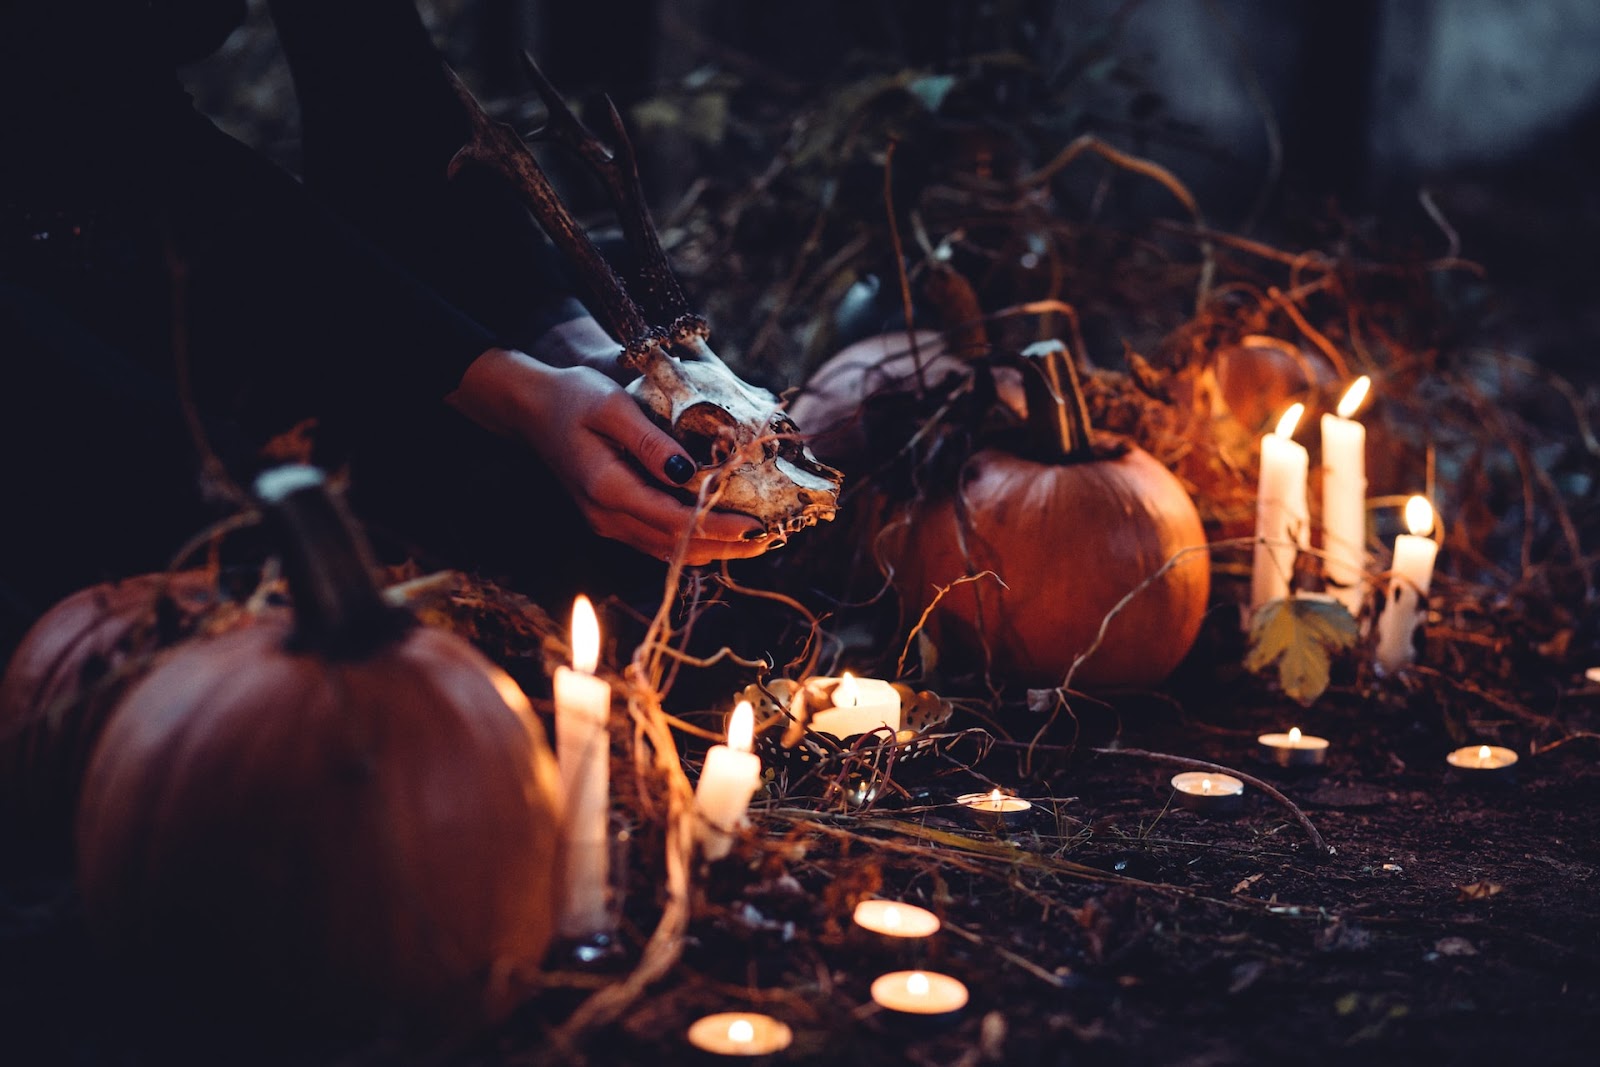
Use Props For a Scary Effect
A big theme in photography classes for kids is creativity, and Halloween is the perfect time to use props to create the kind of photos you want. If you want to, you can spend some time beforehand contemplating what photos you really want to take, and gather the props you need.
Or, you can just venture out into the world and see what you find. Halloween street photography can be fun! Here are some props you may want to get hold of before Halloween so you can play around them with your photos.
- Pumpkins (of course)
- Flashlights (those scary lit-from-below face photos!)
- Fake blood (you can make your own)
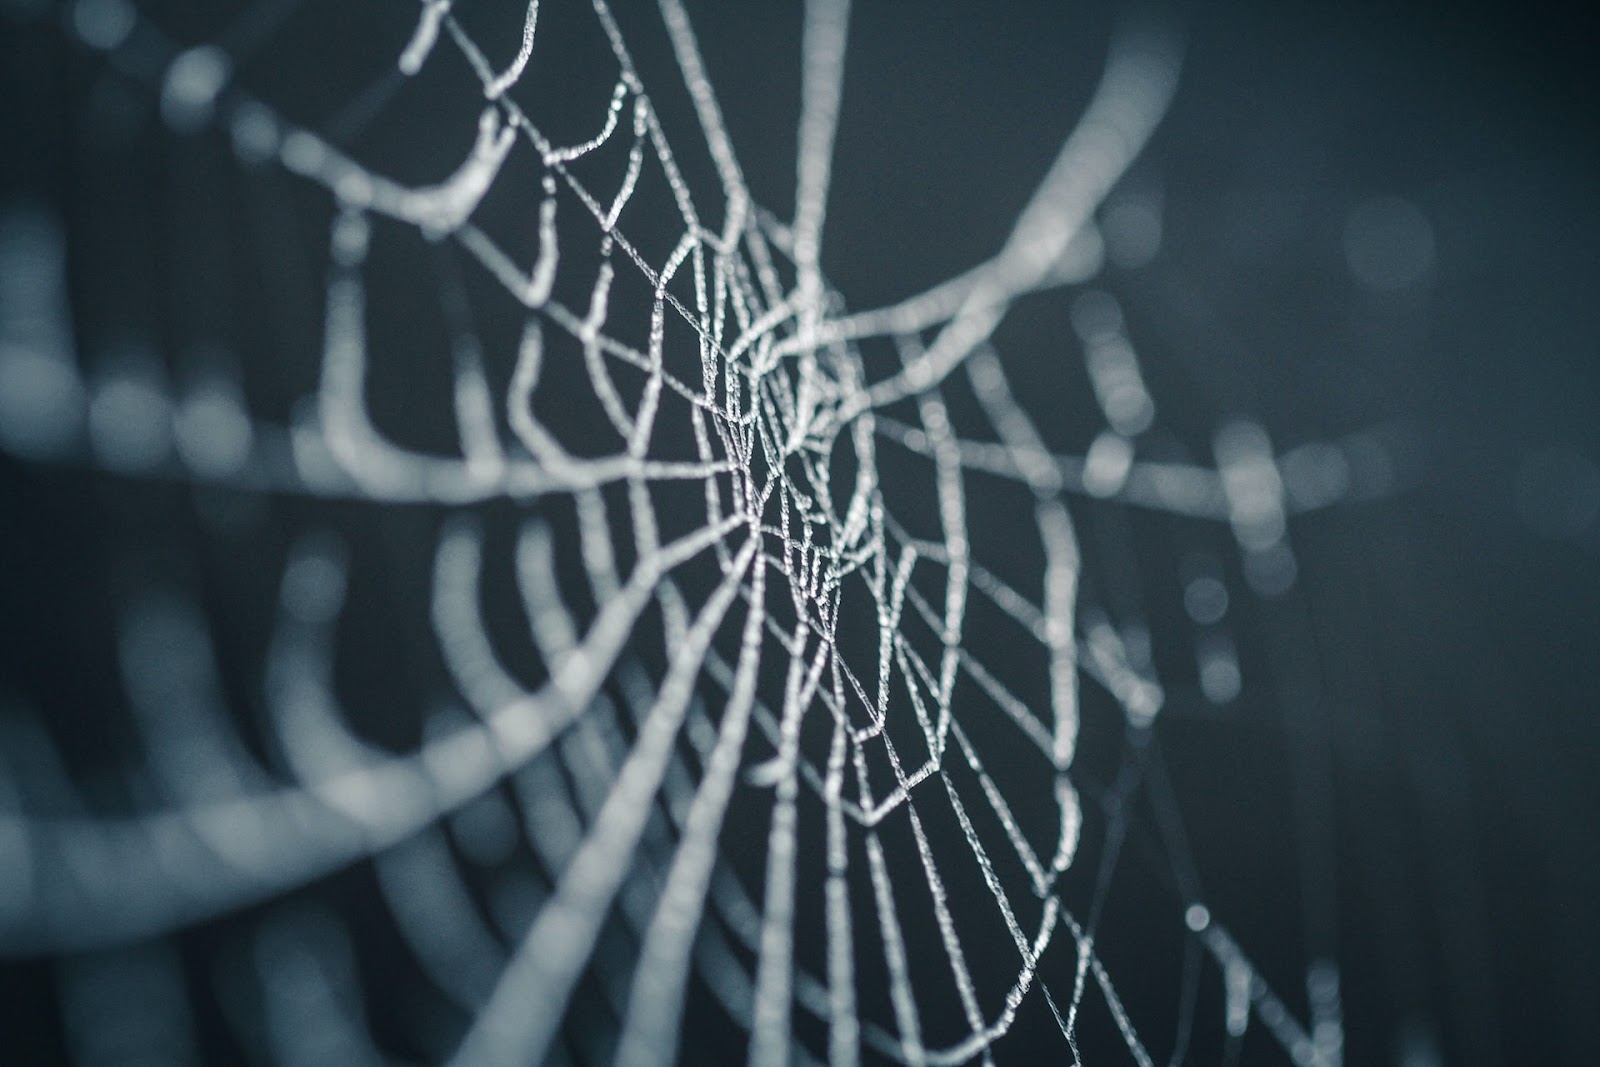
- Fake spider webs (cotton batting or gauze)
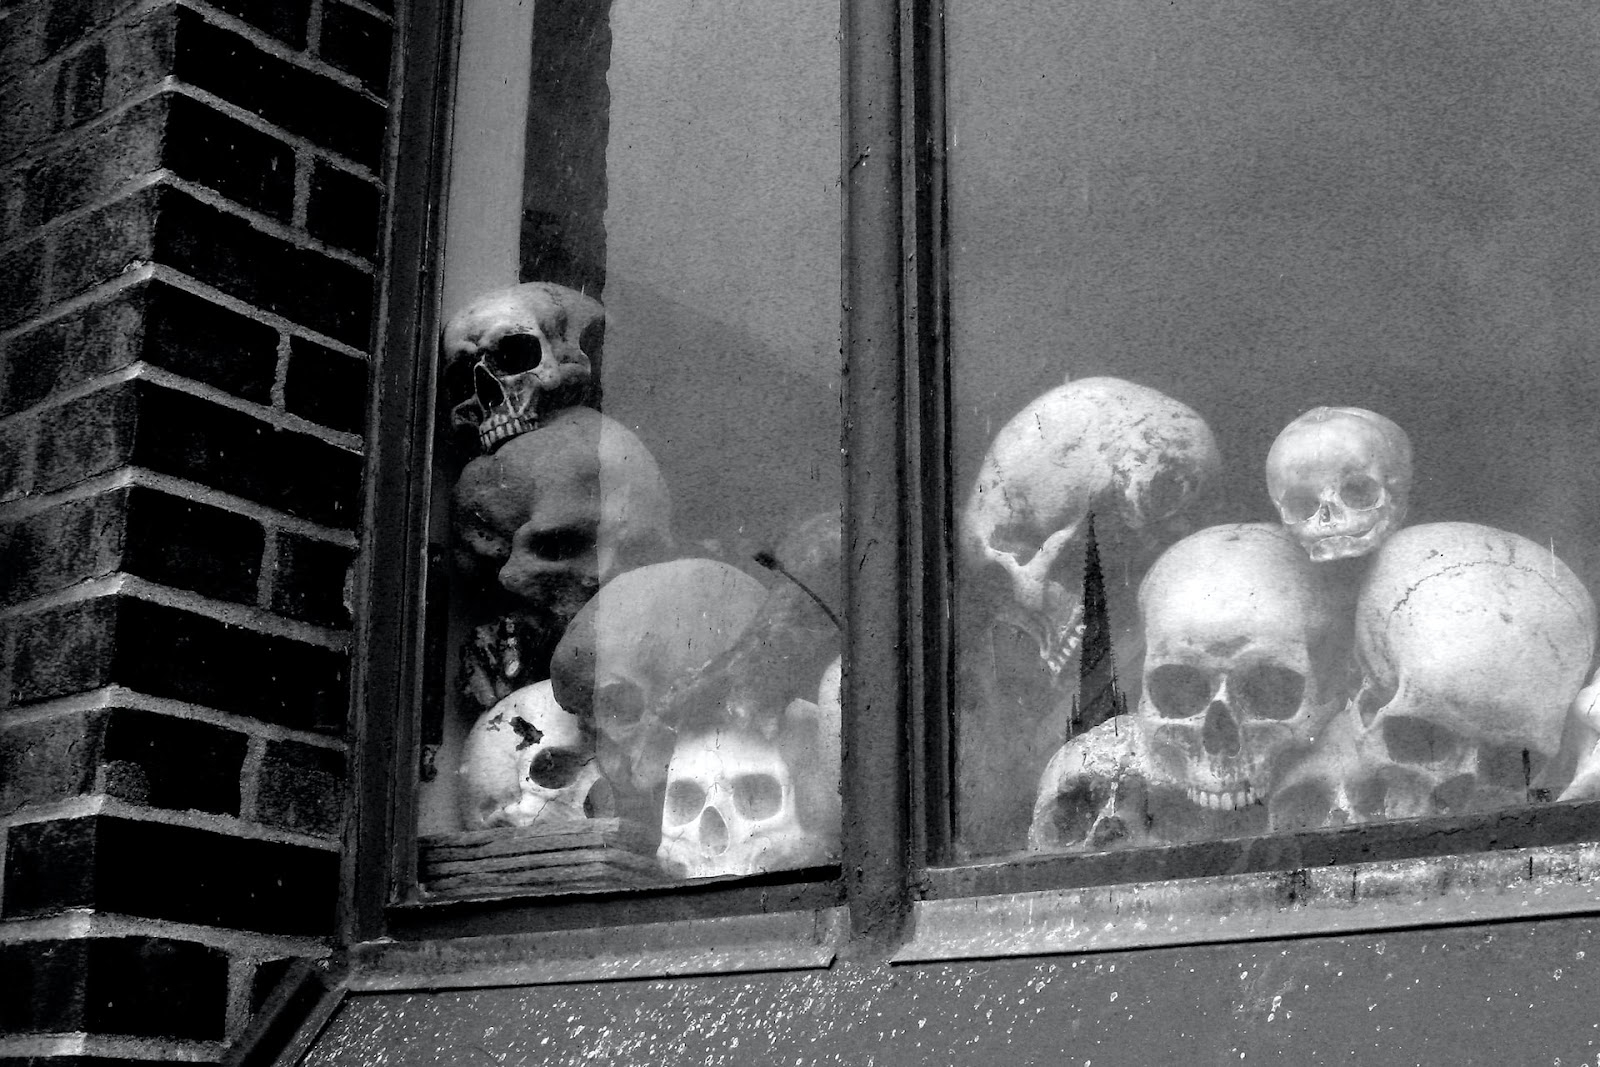
- Fake bones
- Candles
Try A Low F-Stop
A low F-number means a wider aperture. When your camera lens opens wider, it lets more light in. This is great for still-life pictures in darker environments, as it lights them up nicely without the need to up your ISO.
It also comes with a shallow depth of field that makes for super blurred backgrounds. But keep in mind that the longer the shutter is open, the more still your camera needs to be to prevent your subject being blurred.
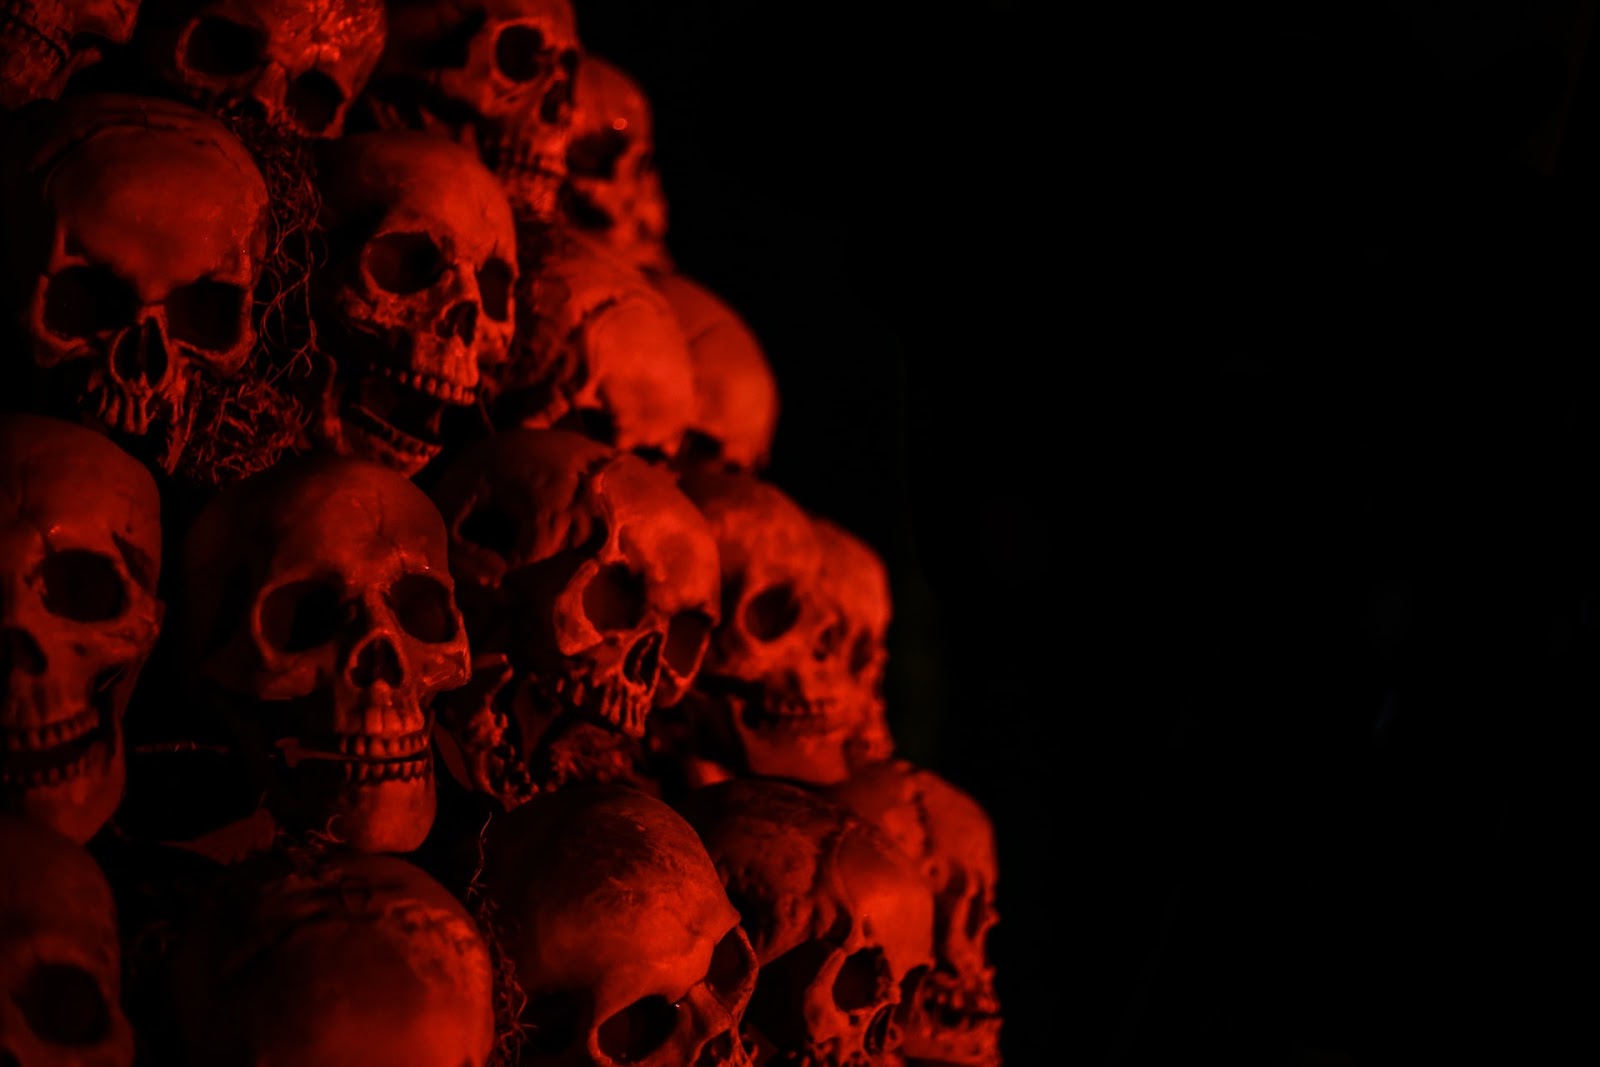
Be Creative With Lighting
Halloween is all about darkness, candle flames, and creepiness! Which means there’s no going to be a lot of natural lighting around to help you take well-lit photos.
It’s up to you to be creative with lighting. Here are some ideas for lighting your pics:
- Candles, indoors or outdoors
- Flashlights, great for cooler, brighter lighting
- Fairy lights, which come in multiple colors
- Moonlight, as natural as you’re going to get!
- Reflections (like the picture below)
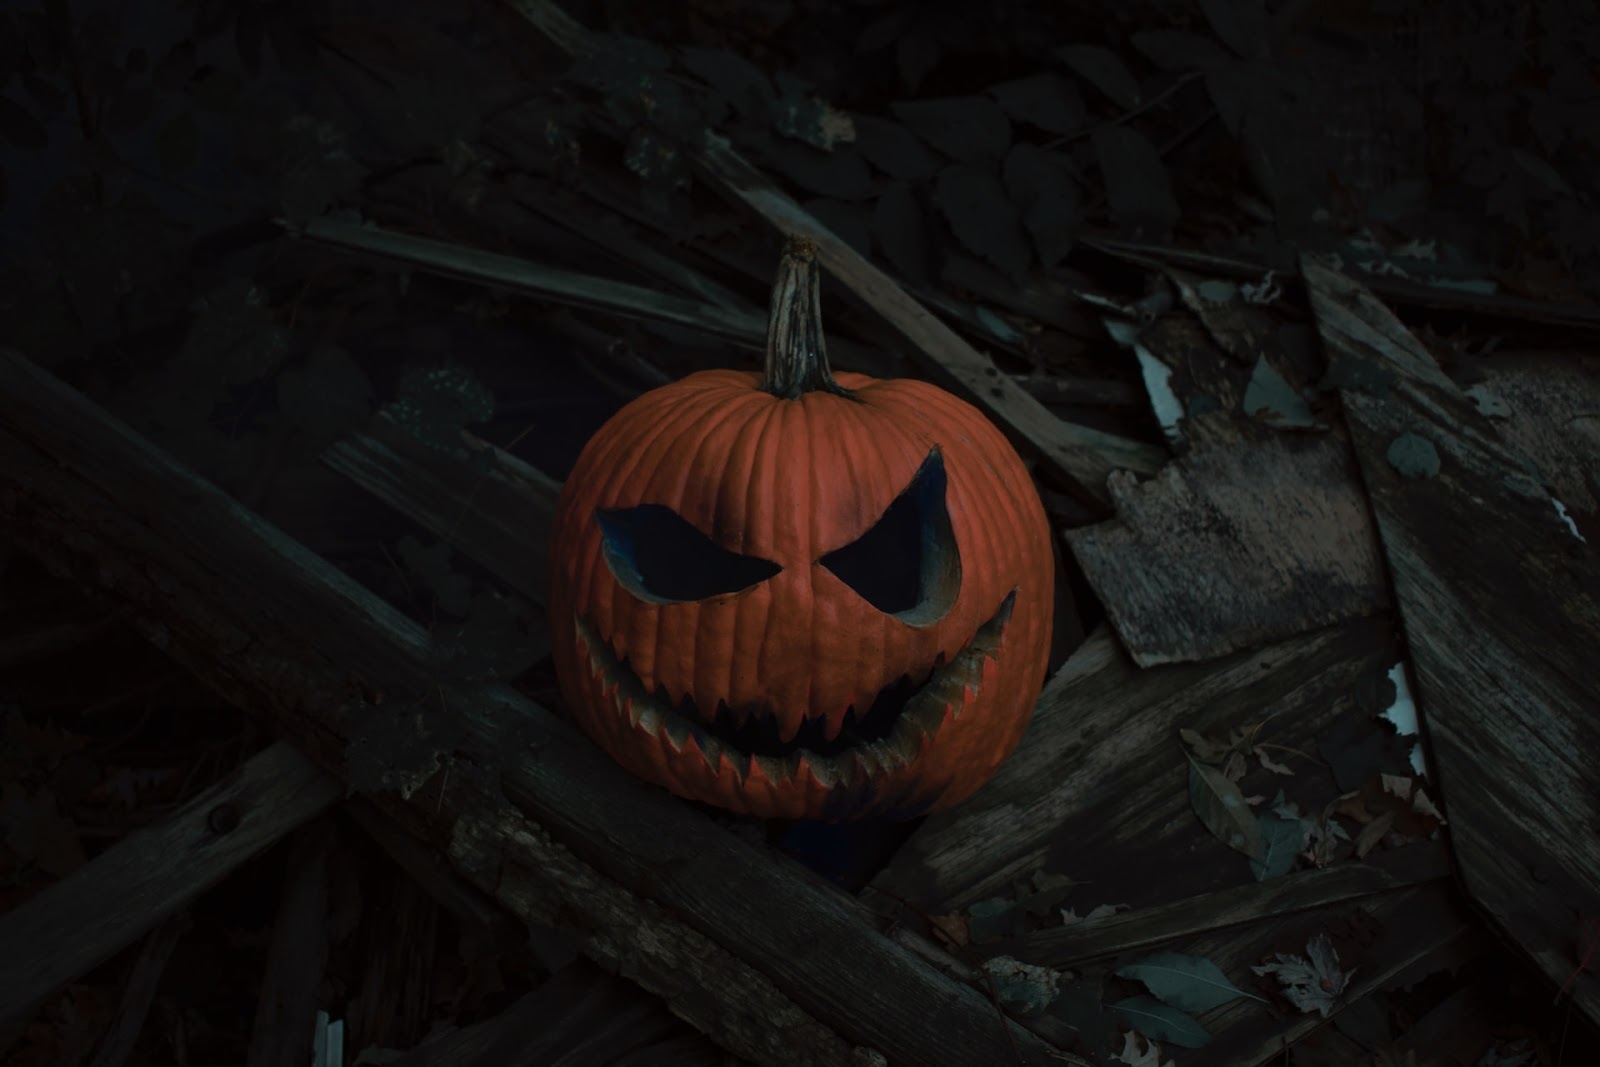
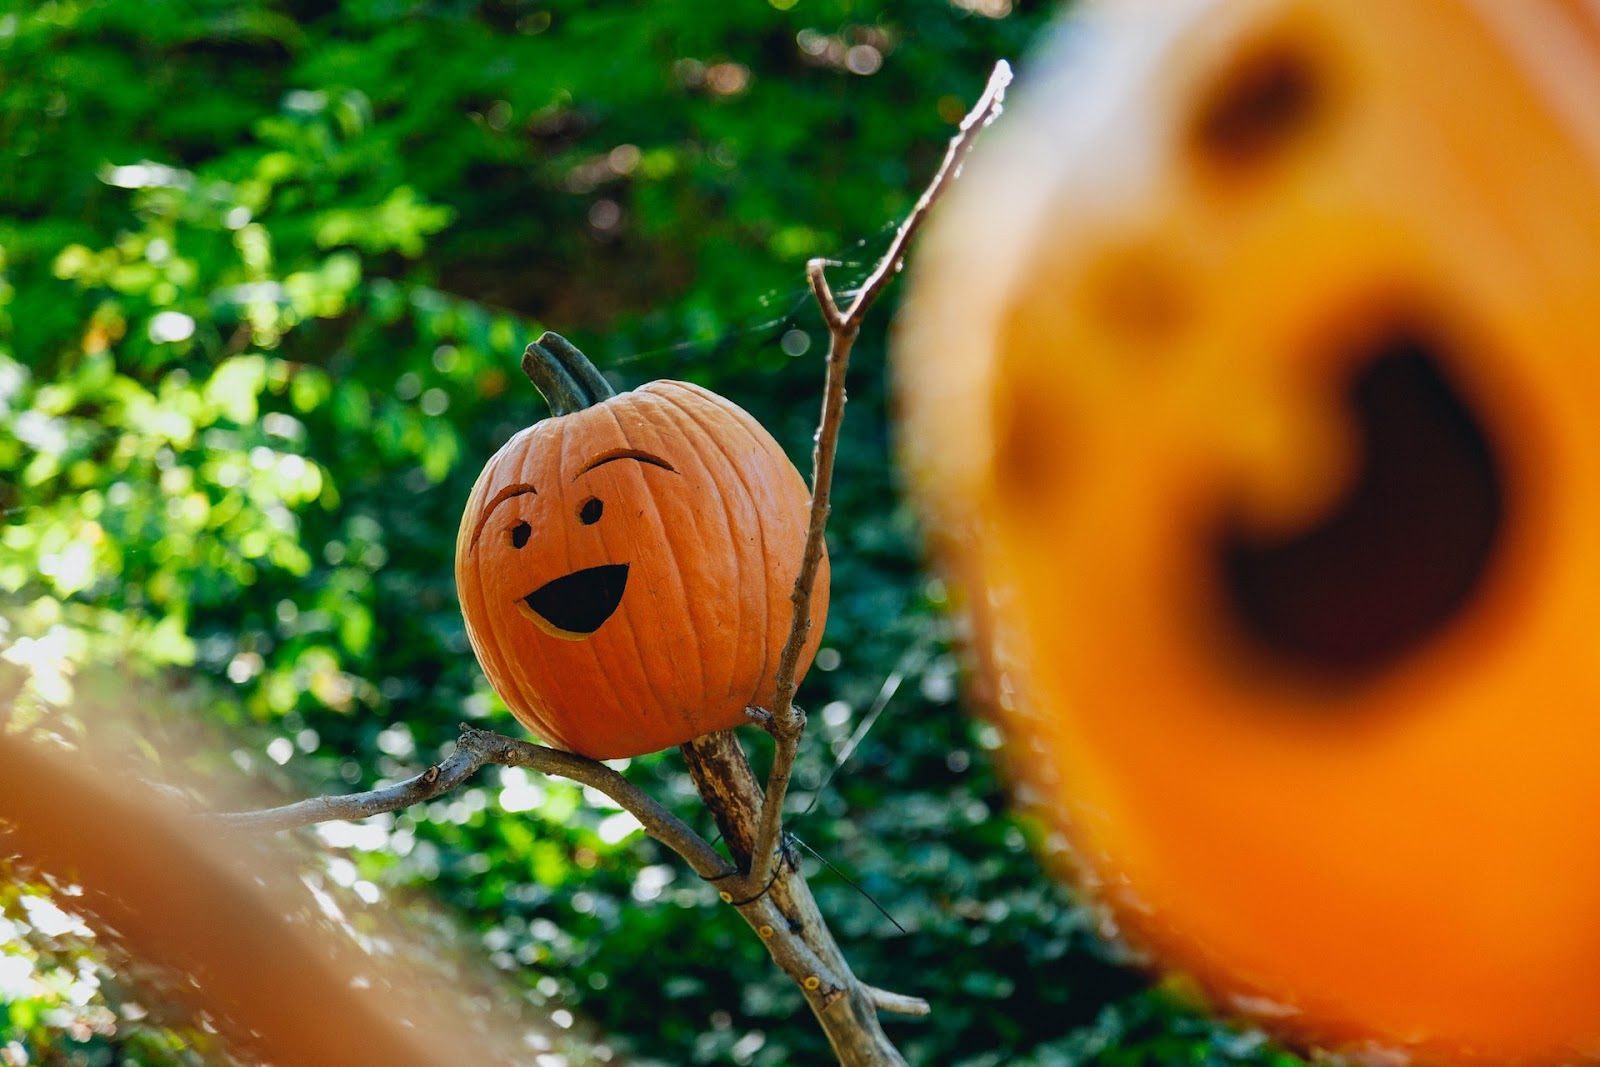
Look For Unique Angles & Sights
Halloween is full of fun photo opportunities. But if you truly want your Halloween photos to stand out, then try to find unique angles and unique views. For example, consider the photo below. It could’ve been taken straight on, but a simple angle change makes it more exciting!
This is where you want to use your creative juices. Zoom in, lie on the floor to get a different view, use your depth of field, or use negative space to create an empty feeling. You can really have fun with it, and experimenting is part of the excitement! Photography classes for teens will cover creative angles and sights, but this is where your own ideas need to come to the forefront!
Add Effects Later!
Adding some interesting effects during editing can really make your Halloween photos pop. If your photography lessons for kids haven’t covered editing yet, you can find some simple tutorials on YouTube!
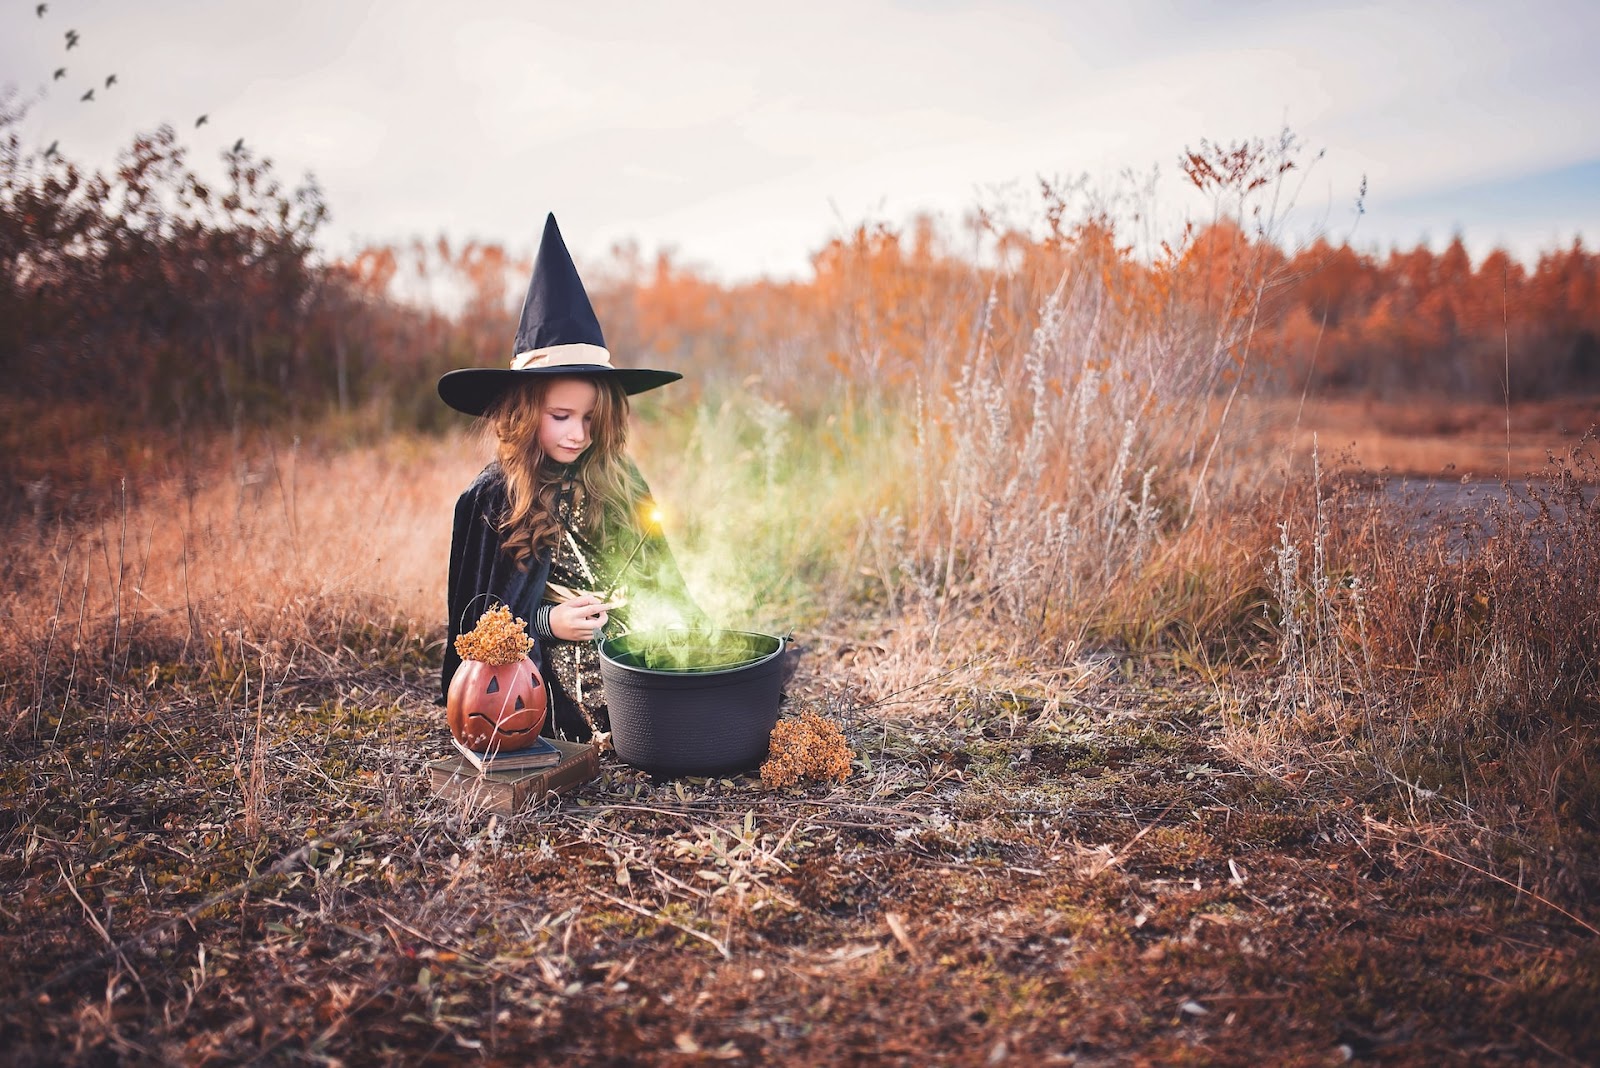
Here’s where you can get all those mystical, mysterious effects that you can’t create in real life. Think of the smoke billowing from a witch’s cauldron, or sparkles coming out of a wand. Editing is where you can add fun and creepy effects to give your photos something extra.
Halloween Photography Classes for Teens & Kids
Photography classes for teens & kids teach you the basics that you can apply to every single day with your camera. But when it comes to occasions like Halloween, there are some tips and tricks to getting the best photos!
This Halloween, experiment with your camera settings, scenes, and editing. With a bit of creativity and some patience, you should be able to get the best Halloween photos you’ve ever taken. More than anything, have fun and learn at the same time!
Want to brush up on your skills and boost your creativity? Join our photography classes for kids and supercharge your photo-taking skills!